

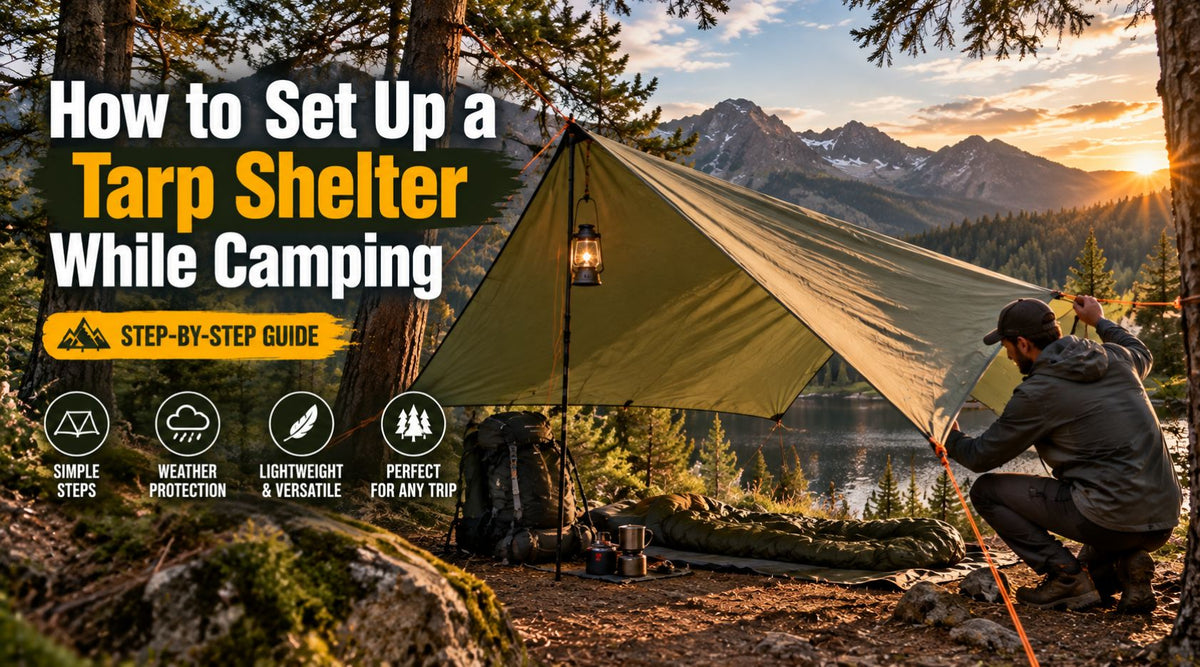
A tarp is one of the most versatile pieces of gear you can carry outdoors. It weighs next to nothing, packs down small, and can be configured a dozen different ways depending on the weather, your campsite, and how much protection you actually need. This tarp shelter camping guide walks through the setups worth knowing, the gear that makes pitching one easier, and the mistakes that turn a simple tarp into a leaky, flapping mess overnight.
By the end, you will be ready to pitch a reliable shelter in almost any conditions, and you can browse our Shelters and Tarp Tents collection to find a tarp suited to your next trip.
Why Use a Tarp Shelter Instead of a Tent
A tarp camping setup offers something a tent cannot: total flexibility. Instead of one fixed shape, a tarp can be pitched low and tight against wind, angled to block rain from one direction, or strung up high for maximum airflow on a hot night. This makes it a favorite among ultralight backpackers, bushcraft enthusiasts, and anyone who wants a backup shelter that takes up almost no space in a pack.
Tarps are also significantly lighter and cheaper than most tents, which is part of why they remain popular even among hikers who already own a full tent for planned overnight stops.
What You Need Before Setting Up a Tarp Shelter
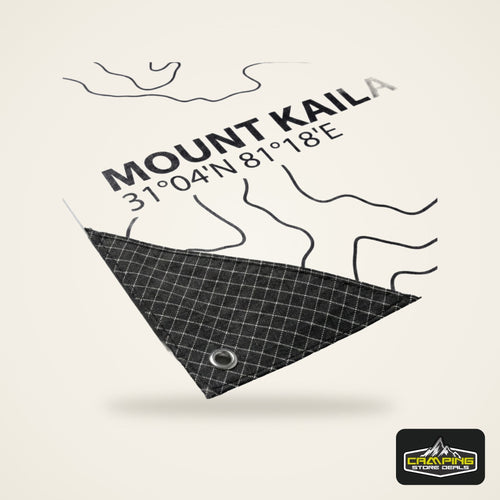
A quality tarp. Look for ripstop fabric, taped or sealed seams, and reinforced grommets or tie out points at the corners and edges, since these are the points that take the most stress from wind and tension.
Guy lines or paracord. Several lengths of sturdy cord are needed to anchor the tarp to trees, poles, or stakes, depending on your chosen setup.
Stakes. Even if you plan to tie off to trees, having a set of stakes on hand covers you in open areas without natural anchor points.
Trekking poles or a ridgeline. Many tarp configurations use trekking poles as makeshift supports, or a length of cord strung between two anchor points as a ridgeline for the tarp to drape over.
Basic knot knowledge. A few simple knots, like a taut line hitch for adjustable tension and a bowline for a fixed loop, make setup far easier and more secure than improvised knots.
Common Tarp Shelter Configurations
A Frame Setup
This is the most basic and widely used configuration. A ridgeline is strung between two trees or poles, and the tarp is draped over it, then staked out on both sides to form a triangular tent like shape. It offers solid protection on both sides and works well in mixed weather.
Lean To Setup
One edge of the tarp is staked to the ground while the opposite edge is raised and tied off higher, creating an angled shelter open on one side. This works best when you can position the open side away from the wind, and it is a good option when you want more visibility or airflow than an A frame provides.
Diamond or Plow Point Setup
The tarp is pitched with one corner staked low to the ground, pointing into the wind, while the opposite end is raised. This creates a wedge shape that sheds wind and rain effectively, making it a strong choice for exposed or windy campsites.
Flat Tarp Setup
The tarp is simply strung flat and level between four anchor points, providing shade or light rain protection without fully enclosing the space underneath. This works well for a shaded cooking or gathering area rather than as a sleeping shelter.
Hammock Tarp Setup
For hikers using a hammock instead of a tent, the tarp is rigged above the hammock's ridgeline, typically in a diagonal or asymmetric shape that covers the length of the hammock while shedding rain to both sides.
Step by Step: Setting Up a Basic A Frame Tarp Shelter
-
Choose a site with two sturdy trees roughly 10 to 12 feet apart, or set up two trekking poles at a similar distance if trees are not available.
-
String a ridgeline between the two anchor points at your desired height, using a taut line hitch so you can adjust tension later.
-
Drape the tarp evenly over the ridgeline so both sides hang down symmetrically.
-
Stake out the corners on both sides, pulling the fabric taut enough to prevent sagging or flapping in wind.
-
Adjust the tension on the ridgeline and stakes until the tarp sits tight and even, checking that no low points could collect pooling rainwater.
Tarp Shelter Camping Guide: Choosing the Right Setup for Conditions
Rainy weather calls for an A frame or diamond setup, both of which shed water effectively from a steep angle rather than allowing it to pool on a flat surface.
Windy conditions are best handled with a diamond or plow point setup, since pointing the low, staked corner into the wind reduces flapping and stress on the fabric.
Hot, calm weather works well with a flat or lean to setup, which maximizes airflow and keeps the space underneath from feeling stuffy.
Bug heavy environments benefit from pairing any tarp setup with a separate bug net, since a tarp alone does not provide the enclosed protection a tent offers against insects.
Common Mistakes When Setting Up a Tarp Shelter
Pitching it too flat. A tarp with insufficient angle will pool water in the middle during rain, eventually causing it to sag or leak through stress points.
Skipping proper tension. A loose tarp flaps loudly in wind and is more likely to fail at the stake or grommet points over time.
Ignoring wind direction. Failing to consider which way the wind is blowing can leave an open sided setup exposed to rain or gusts it was never positioned to handle.
Using weak or worn cordage. Guy lines under constant tension need to be strong and in good condition, since a snapped line in bad weather can compromise the entire shelter.
Forgetting a ground tarp or sleeping pad. A tarp shelter protects from above, but it does nothing for ground moisture, so pairing it with a ground cloth or sleeping pad is still necessary for a dry, comfortable night.
What to Pair With a Tarp Shelter
To round out a complete tarp camping setup, consider adding:
-
A sleeping bag rated for your expected overnight temperatures
-
A ground cloth or sleeping pad for insulation and comfort
-
A backpacking pack with enough room for your tarp, cordage, and stakes
-
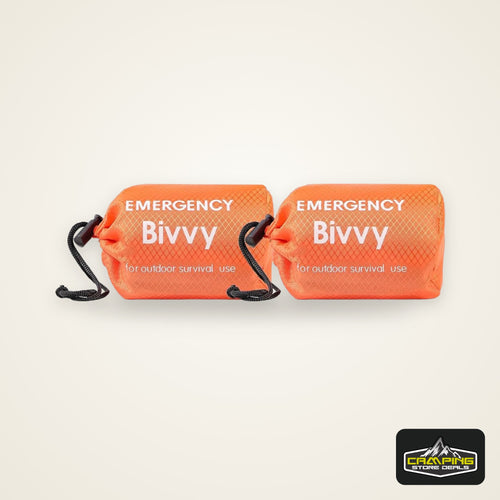
A bivy sack as an extra layer of protection if you expect heavier rain or wind
Tarp Shelter Camping Guide: Quick Checklist
-
Ripstop tarp with sealed seams and reinforced tie out points
-
Guy lines or paracord in sufficient length and quantity
-
A set of stakes for open or treeless sites
-
Basic knot knowledge, especially a taut line hitch
-
Setup chosen based on wind direction and expected weather
-
Ground protection paired with the overhead shelter
Frequently Asked Questions
Is a tarp shelter enough protection for rain?
Yes, when pitched with a steep enough angle to shed water, such as an A frame or diamond setup. A flat pitch is more prone to pooling and eventual leaking during sustained rain.
Can a tarp shelter replace a tent completely?
It can for many trips, especially in mild weather or for experienced campers comfortable with a more open setup, but it offers less protection from insects and ground level drafts compared to a fully enclosed tent.
What knot should I learn first for tarp setups?
A taut line hitch is the most useful, since it allows you to adjust tension on a guy line after it is tied, which is essential for getting a tarp pitched tight and secure.
Do I need trekking poles to set up a tarp?
Not necessarily. Trees or other fixed anchor points work just as well, but trekking poles are useful in open areas without natural supports.
Final Thoughts
This tarp shelter camping guide comes down to matching your setup to the conditions you expect and taking the time to pitch it with proper tension and angle. Once you have a few configurations down, a tarp becomes one of the most adaptable pieces of gear in your kit, equally useful as a primary shelter, a rain cover for a hammock, or a lightweight backup for unpredictable weather.
Ready to build your setup? Browse our full Shelters and Tarp Tents collection and find a tarp built for however you camp.


 Tents & Shelter
 Sleep Systems
 Packs & Hiking
 Camp Kitchen
 Light & Power
 Survival & Skills
 Camping 101
 Fishing