

The best camp meals are not complicated. They are planned. When you know exactly what you will eat, what you need to cook it and what can be done before you leave home, camp cooking becomes one of the best parts of the trip instead of a scramble in the dark for the missing can opener.
This guide gives you a proven planning method, a sample three-day car camping menu and a cooler system that keeps food cold and safe. For the gear side, see our camp cookware and camp stoves.
Step 1: plan every meal on paper
Write a simple grid with each day down the side and breakfast, lunch, dinner and snacks across the top. Fill it in, then note what equipment each meal needs. This one page becomes your shopping list, your packing list and your cooking schedule.
- Count people and meals, then add one spare meal for delays or extra hunger.
- Repeat ingredients across meals to cut waste. Tortillas, cheese and peppers can appear in breakfast burritos, lunch wraps and dinner fajitas.
- Plan the most perishable meals first and shelf-stable meals last.
Step 2: prep at home
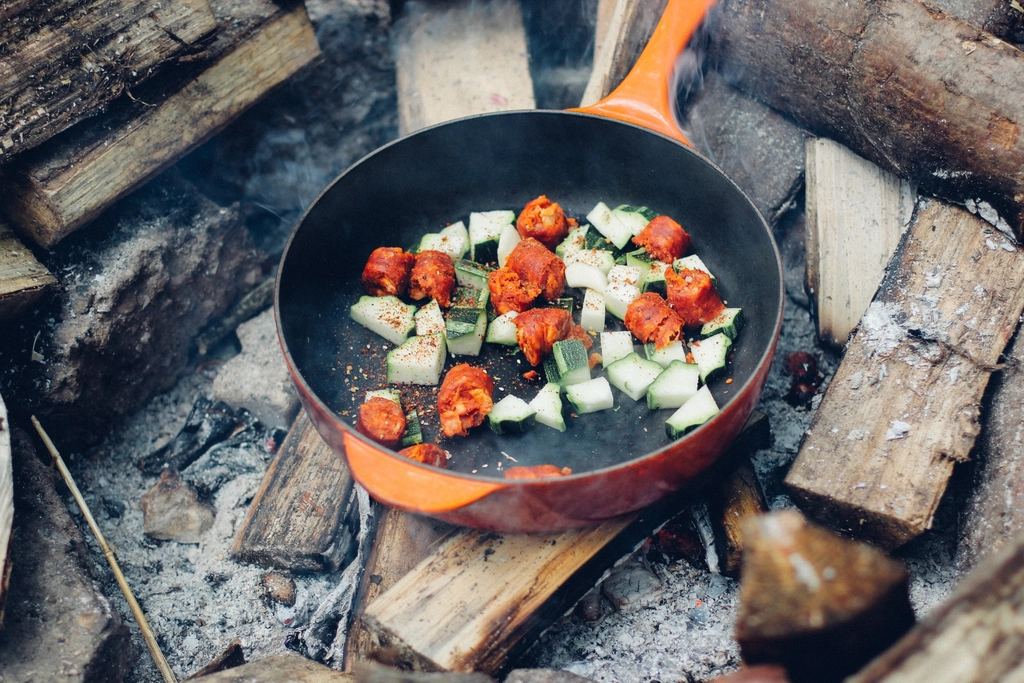
Every minute of prep at home saves three at camp. Chop vegetables, pre-mix pancake batter dry ingredients, marinate meat in sealed bags and freeze it, and portion snacks. Pre-cooked chili or taco meat frozen in flat bags doubles as ice and only needs reheating.
Pro tip: label every bag with the day and meal it belongs to. At camp you simply pull "Day 2 dinner" from the cooler.
A sample 3-day car camping menu
| Day | Breakfast | Lunch | Dinner |
|---|---|---|---|
| Day 1 | Eat at home or on the road | Deli wraps made at home | Foil-packet sausage, potatoes and peppers |
| Day 2 | Breakfast burritos, pre-made and reheated | Charcuterie board, fruit and crackers | Steak or tofu tacos with pre-chopped toppings |
| Day 3 | Pancakes and fruit | Leftover taco bowls | One-pot chili mac |
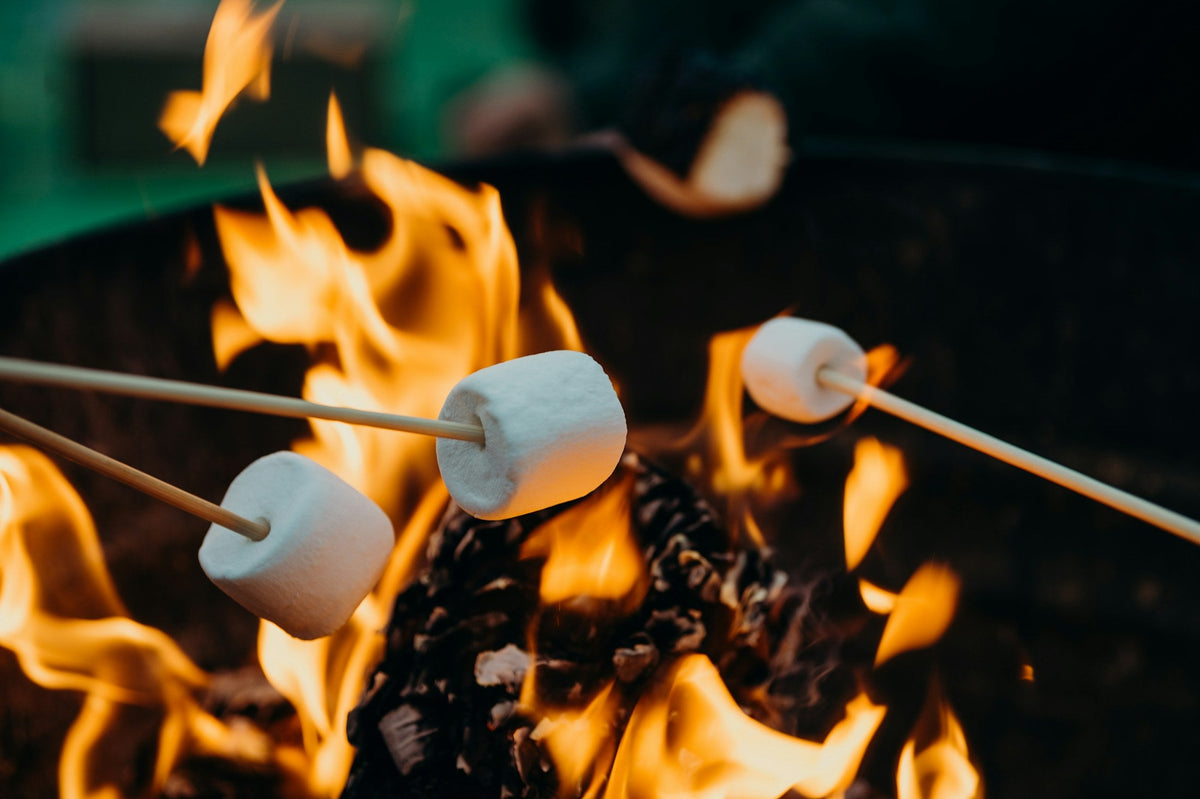
Snacks for every day: trail mix, jerky, fruit, granola bars and something special for the campfire, like s'mores.
Step 3: pack the cooler like a pro
- Pre-chill it. Bring the cooler inside the night before and add a sacrificial bag of ice to cool the walls.
- Use block ice. Blocks melt far slower than cubes. Frozen water bottles and frozen meal bags work too.
- Layer by day. Frozen items and Day 3 food go on the bottom, Day 1 food on top.
- Keep it full. Air space warms faster, so fill gaps with ice or towels.
- Use two coolers. One for drinks that get opened constantly, one for food that stays shut.
Safety: keep perishable food at or below 40°F (4°C). Drain meltwater carefully and keep raw meat sealed and below ready-to-eat foods.
Build a grab-and-go kitchen bin
Keep a dedicated bin packed between trips so you never forget the basics:
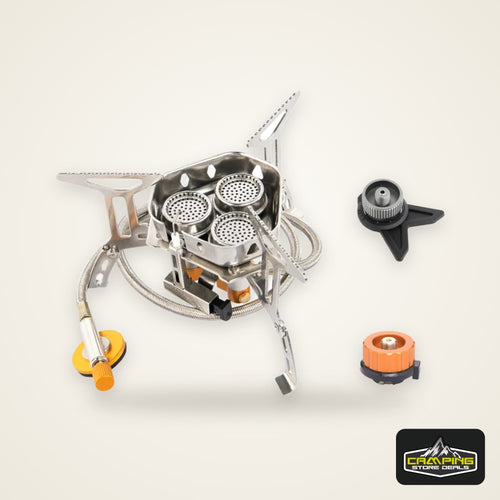
- Stove, fuel and a backup lighter
- Pot, pan, kettle and lids
- Spatula, tongs, ladle, knife and cutting board
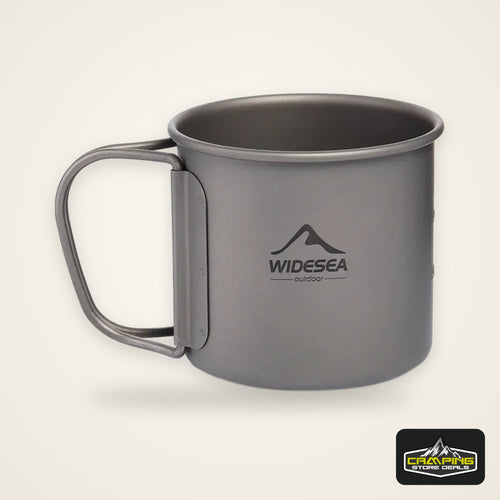
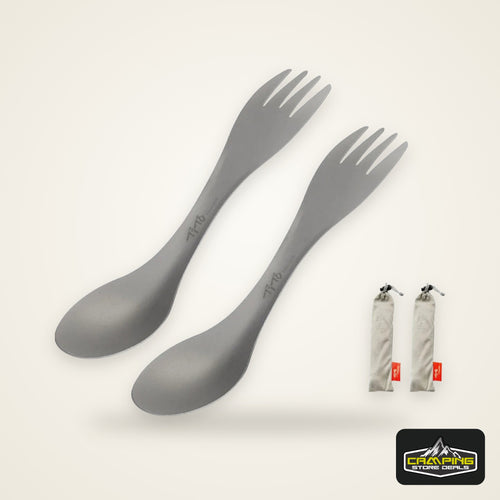
- Plates, bowls, mugs and utensils for everyone
- Can opener, bottle opener and measuring cup
- Biodegradable soap, sponge, collapsible wash basin and towel
- Trash bags, zip bags, paper towels and foil
- Salt, pepper, oil and a small spice kit
Clean up and store food securely
Wash dishes away from water sources and scatter strained gray water widely, following campground rules. Pack out all food scraps. At night and whenever you leave camp, store food, coolers, trash and scented items in a locked vehicle where permitted, a bear box or a bear-resistant container.
Bottom line
Plan on paper, prep at home, pack the cooler in layers and keep a ready-made kitchen bin. Those four habits turn camp cooking from a chore into one of the best parts of the trip.


 Tents & Shelter
 Sleep Systems
 Packs & Hiking
 Camp Kitchen
 Light & Power
 Survival & Skills
 Camping 101
 Fishing