

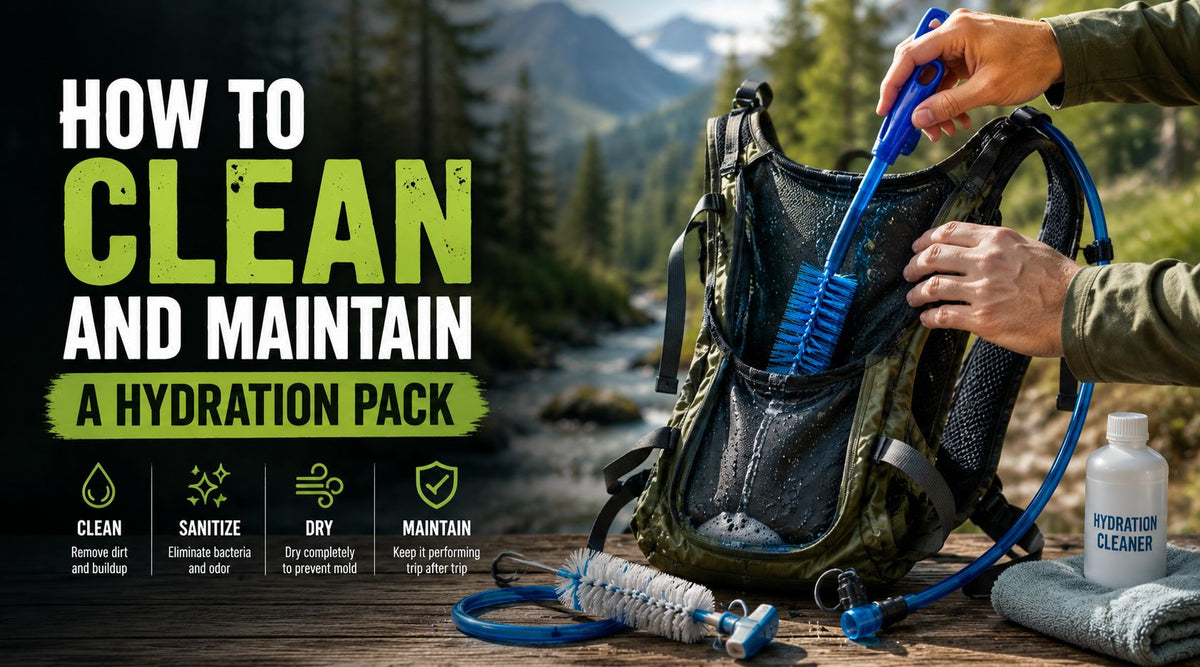
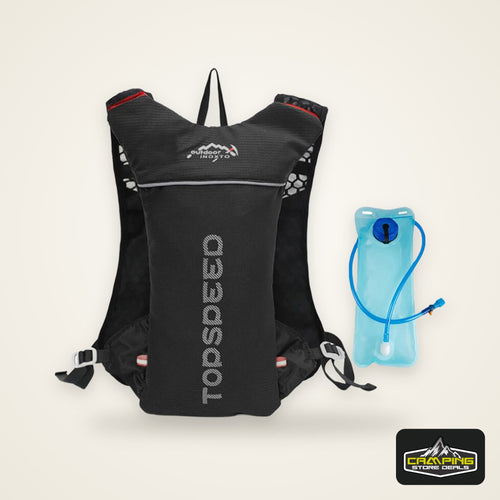
A hydration bladder is one of the easiest pieces of gear to forget about between trips, and one of the fastest to grow mold if it is ignored. This hydration pack cleaning guide covers exactly what to do after every hike, how to deep clean when things get worse than a quick rinse can fix, and how to store your reservoir so it is ready the next time you head out.
By the end, you will know how to keep your gear fresh season after season, and you can browse our Hydration Packs collection if it is time to replace a bladder that has seen better days.
Why a Hydration Pack Cleaning Guide Matters
Warm, damp environments are exactly where mold and bacteria thrive, and a used water bladder left sealed in a bag checks every box. Skipping regular hydration reservoir cleaning does not just cause a bad smell, it can also lead to a plastic aftertaste, cloudy water, and in some cases mold growth inside the tube where you cannot easily see it.
Cleaning your water bladder does not need to be complicated. A short rinse after every trip combined with a deeper clean every few weeks is usually enough to keep it in good shape for years.
What You Need for Hydration Bladder Cleaning
Before you start, gather a few basic supplies:
-
Warm water
-
A small amount of mild dish soap or a dedicated cleaning tablet
-
Baking soda, for odor removal
-
A bottle brush or tube brush, small enough to reach into the reservoir and tube
-
A drying tool or something to prop the bladder open, such as a wooden spoon or a hanger
Most of these items are things you likely already have at home, which makes staying on top of hydration pack maintenance easy to build into your regular routine.
Step by Step Hydration Pack Cleaning Guide
1. Rinse Immediately After Use
As soon as you get home, empty any remaining water and rinse the bladder and tube with clean water. This one habit alone prevents most buildup, since bacteria need time and leftover moisture to take hold.
2. Wash With Warm Soapy Water
Fill the reservoir with warm water and a small amount of mild dish soap. Swish it around, then use your bottle brush to scrub the interior walls, seams, and corners where residue tends to collect. Push the brush through the drinking tube as well, since this narrow section is the most common spot for buildup.
3. Rinse Thoroughly
Rinse several times until no soap taste or smell remains. Leftover soap can affect the taste of your water on your next hike, so do not rush this step.
4. Deep Clean With Baking Soda for Stubborn Odor
If a basic wash does not fully clear the smell, mix a few tablespoons of baking soda with warm water inside the reservoir, let it sit for 20 to 30 minutes, then rinse thoroughly. This works well for bladders that have been left unused for a while or that developed a musty smell.
5. Dry Completely Before Storage
This is the step most people skip, and it is the one that matters most. Prop the reservoir open with a spoon, hanger, or a dedicated drying rack so air can circulate inside. A bladder that is stored even slightly damp is far more likely to develop mold before your next trip.
How Often Should You Clean a Water Bladder
After every trip: A quick rinse with clean water is enough for regular use, especially if you are drinking plain water.
Every 2 to 4 weeks of regular use: A full soapy wash with tube brushing keeps buildup from becoming a bigger problem.
Before long term storage: Always do a full clean and baking soda soak before packing your reservoir away for the off season, since a damp or dirty bladder left sealed for months is the most common cause of mold.
If you added anything other than water: Sports drinks, electrolyte mixes, and flavored additives leave residue quickly, so clean the bladder the same day you use it with anything besides plain water.
Signs Your Hydration Pack Needs More Than a Cleaning
Even with good hydration reservoir cleaning habits, bladders do not last forever. Consider replacing yours if you notice:
-
A persistent musty smell that does not go away after a baking soda soak
-
Visible mold inside the bladder or tube that cannot be fully brushed out
-
Cracking, stiffness, or discoloration in the plastic
-
A bite valve or tube that has developed a permanent odor or taste
If any of these apply, browse our Hydration Packs collection for a fresh reservoir rather than risking bad tasting or unsafe water on your next trip.
Common Mistakes in Hydration Pack Maintenance
Storing it wet. This is the single biggest cause of mold growth, and it is completely avoidable with a few extra minutes of drying time.
Only rinsing, never washing. Water alone removes loose debris, but it will not fully clear biofilm buildup along the interior walls over time.
Ignoring the tube and bite valve. These narrow parts are often the dirtiest section of the whole system, even when the main reservoir looks clean.
Using strong bleach or harsh chemicals. Some cleaners can leave a taste or damage the material. Mild soap and baking soda are usually enough for routine cleaning.
Freezing a bladder for storage. This can crack seams and fittings over time. A cool, dry space is a better long term storage choice.
What to Pair With a Clean Hydration Pack
Once your reservoir is clean and dry, make sure the rest of your hydration setup is ready too:
-
A hiking backpack with a proper hydration sleeve to keep the bladder supported and insulated
-
A day pack sized for shorter hikes if you do not need a full hydration reservoir every trip
-
Water treatment supplies from our Water Treatment collection if you are refilling from natural water sources on the trail
Hydration Pack Cleaning Guide: Quick Checklist
-
Rinse with clean water immediately after every use
-
Wash with warm water and mild soap every 2 to 4 weeks
-
Brush the tube and bite valve, not just the main reservoir
-
Use a baking soda soak for stubborn odor
-
Dry completely with the reservoir propped open before storing
-
Clean the same day if you used anything besides plain water
Final Thoughts
Following a simple hydration pack cleaning guide, rinse after every trip, wash regularly, dry fully before storage, is enough to keep your reservoir fresh, odor free, and ready for the trail. A few extra minutes of maintenance now saves you from replacing gear early or dealing with bad tasting water on your next hike.
Ready to upgrade or replace your reservoir? Browse our full Hydration Packs collection and gear up for your next adventure.


 Tents & Shelter
 Sleep Systems
 Packs & Hiking
 Camp Kitchen
 Light & Power
 Survival & Skills
 Camping 101
 Fishing