

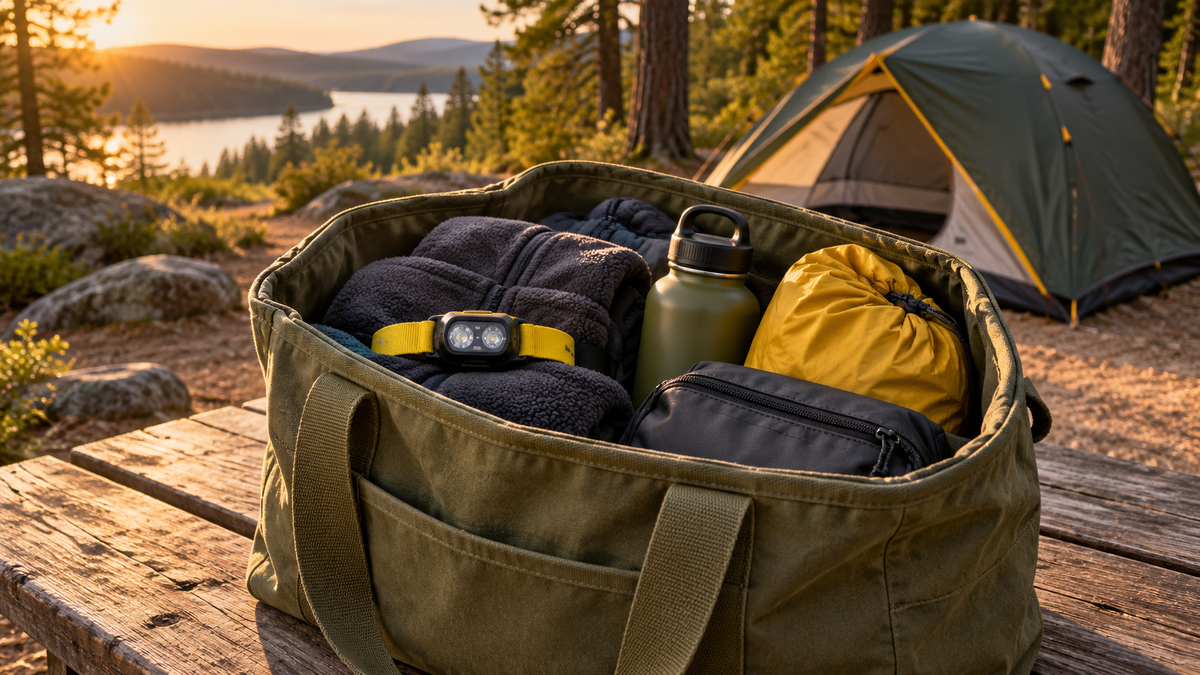
The first things you need at a campsite are often the smallest: a headlamp, the reservation details, a warm layer and the pouch holding your tent stakes. If those are buried beneath a weekend's worth of equipment, arrival becomes a search through the trunk.
A first-night arrival bag puts the small essentials in one reachable place. It works especially well for car camping, where gear can be organized by the order you will use it. You do not need a special bag or a second set of everything. Start with a tote or daypack you already own and give it a specific job.
Define what the bag must do
Picture the stretch between parking and having your sleeping space ready. Write down the items you expect to reach for during that period. Keep the list short enough that the bag remains easy to carry and search.
Your tent, sleeping bags and bulky pads can stay in their own bags. The arrival bag is for the small things that otherwise disappear between them. It should not become a general storage bin for everything left over after packing.
This is an organizational layer within a complete trip plan. It does not replace emergency supplies or equipment suited to the weather and location. The National Park Service's pre-trip guidance recommends checking site conditions, regulations and food-storage requirements, carrying appropriate essentials and testing equipment before leaving.
Give paperwork its own pocket
Save the campground name, site number, check-in instructions and a site map where you can reach them without unloading. Keep an offline copy on your phone and, if useful, a paper copy in a protective pouch. A reservation email buried in an inbox is less convenient than a single page prepared at home.
Check the campground's actual arrival rules before setting off. Gate hours, late-arrival procedures and quiet hours vary. An arrival bag does not make an otherwise prohibited or impractical late arrival workable. Aim to leave enough daylight for finding your site and setting up; adjust the plan if delays make that unrealistic.
Keep a pen with the paperwork. It can be useful for any required registration slip, but complete only the forms and steps the campground actually requests.
Put light and layers at the top
Place a tested headlamp or flashlight in a predictable outer pocket. Check its battery or charge before packing, and protect the switch from accidental activation as its instructions allow. Keep the appropriate spare batteries or charging cable with your lighting kit rather than in an unrelated electronics pouch.
A warm layer and rain jacket can sit immediately below. Pack them for the forecast and conditions instead of treating one thin fleece as enough for every season. The goal is access: nobody should have to spread the sleep system on the ground to find their jacket.
During setup, direct light at the task and keep it out of neighboring campsites. NPS campground etiquette guidance asks campers to observe posted quiet hours and keep lights shielded and directed downward. Plan a simpler arrival routine rather than relying on a large floodlight.
Keep the small setup pieces together
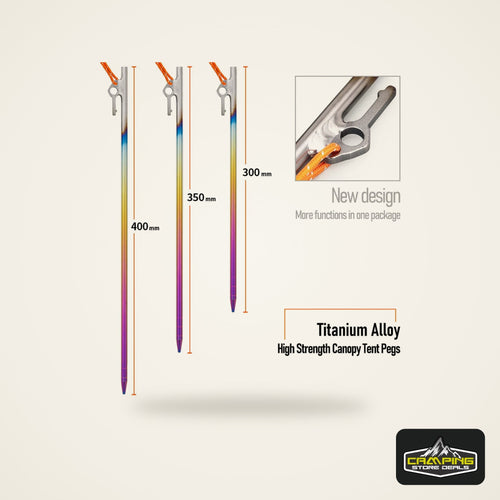
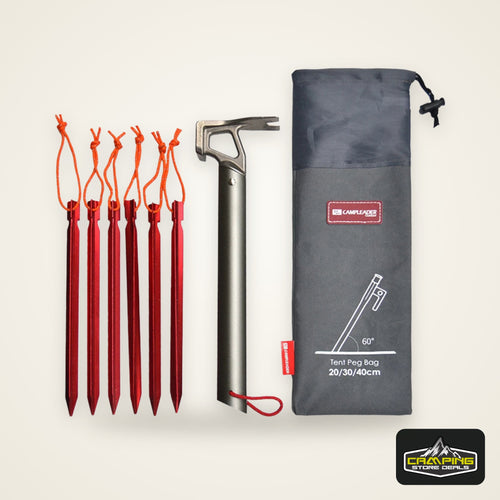
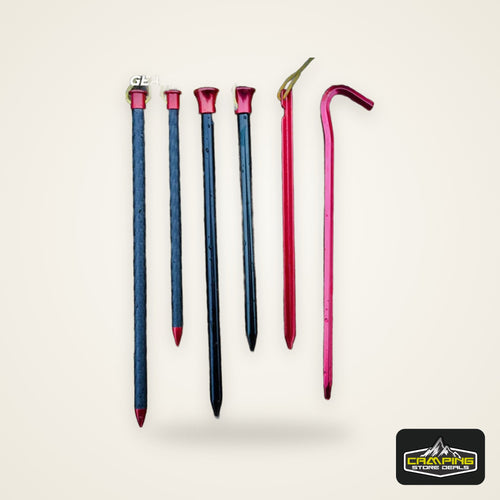
Choose one zip pouch for the small accessories your shelter actually uses. Depending on your equipment, that could include the supplied stakes, guylines, repair sleeve or the correct pump adapter. Keep the instructions with it, particularly for unfamiliar gear.
It may be better to leave this pouch inside the tent bag. That is fine: the important thing is knowing its location and loading it where it can be reached. Do not separate parts simply to satisfy the idea that everything must fit in one tote.
Set up new equipment at home first. If a part is missing, the living room or backyard is a much easier place to discover that than the campsite. Repack the same way after the test so you are practicing the routine you will use on arrival.
Keep food and scented items on their own plan
A convenient arrival bag should not quietly turn into an overnight food stash. Keep snacks, toiletries and other items covered by the campground's wildlife-storage rules in the appropriate storage system. Follow that location's requirements rather than assuming a vehicle, cooler or ordinary tote is acceptable.
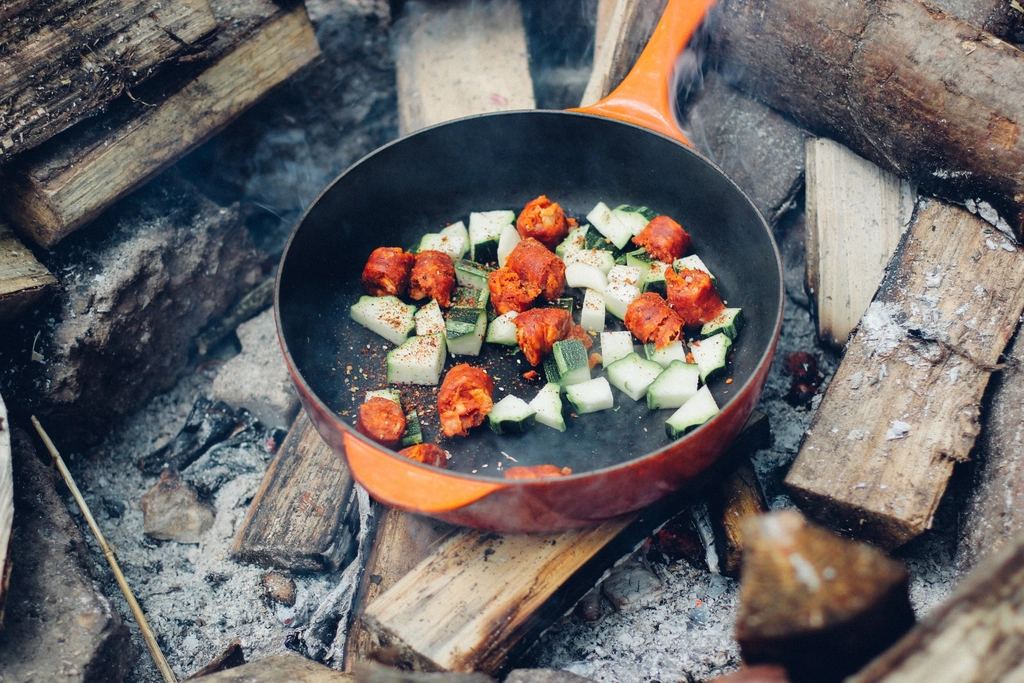
Carry drinking water where it is easy to reach, with the container closed and upright. If you want an easy first meal, decide where its ingredients, utensils and waste will go before the trip. Make that a separate kitchen plan; there is no need to load the entire kitchen into the arrival bag.
Load for access, then rehearse once
Put the bag where you can retrieve it after parking without moving the heaviest equipment. Keep vehicle exits, sightlines and required safety equipment clear. Your shelter and sleep gear should also be accessible in the order you intend to use them.
Before closing the trunk, try this short check:
- Can you find the site information without unpacking?
- Can each person reach suitable light and an extra layer?
- Are the shelter's small parts together and accounted for?
- Is the food-storage plan ready to use immediately?
- Do you know where the first-aid kit is?
After the trip, note what you reached for and what only took up space. Restock the useful items during your post-trip gear reset. The best arrival bag is a familiar, easy-to-find kit that makes your own setup sequence smoother.


 Tents & Shelter
 Sleep Systems
 Packs & Hiking
 Camp Kitchen
 Light & Power
 Survival & Skills
 Camping 101
 Fishing