

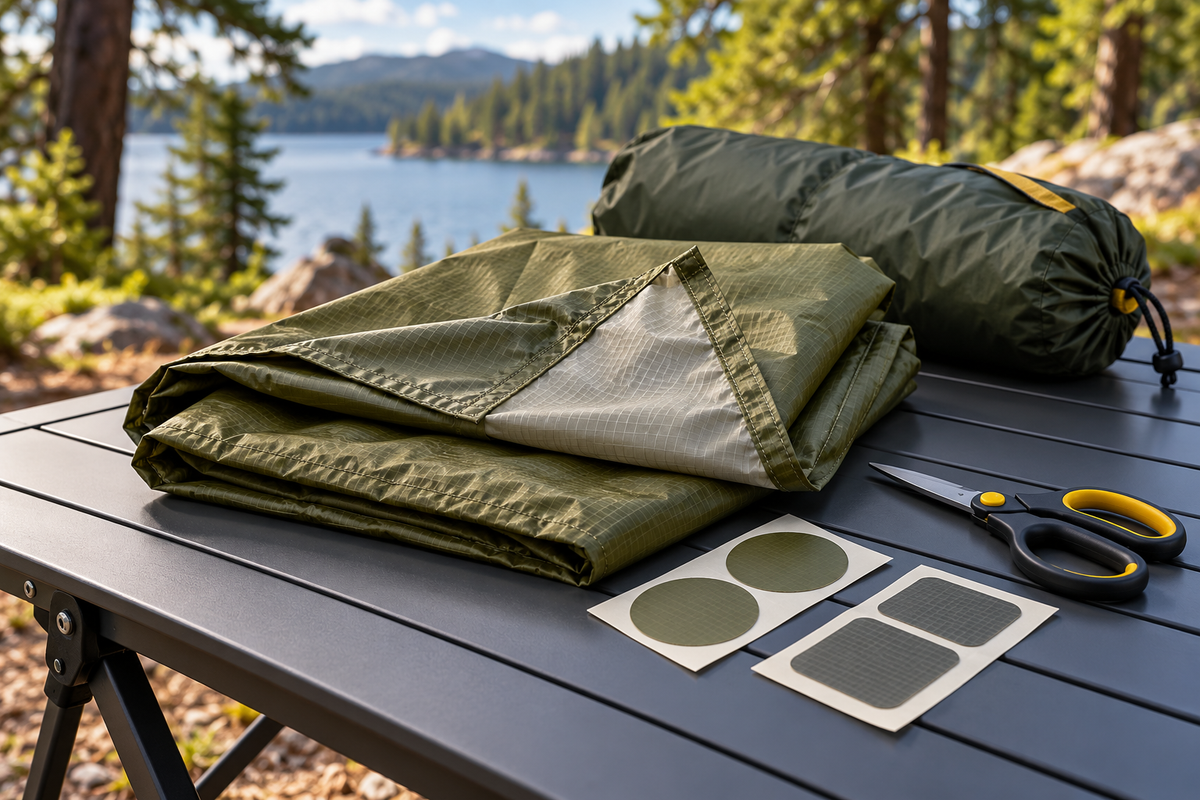
A repair patch can look like the simplest item in a camping kit: peel, press and get on with the trip. The important decision happens earlier. Before buying tape for a tent, find out what surface the adhesive will actually touch. “Nylon tent” is often not a complete answer.
This is a buying and preparation guide, not a universal repair procedure. The tent maker's instructions and the repair product's current directions should govern the work. When those instructions do not clearly match, a question to the manufacturer is a better next step than an experiment on your shelter.
Identify the panel, not just the tent
Start with the exact model and, if you know it, the version or purchase year. Then identify the damaged component: rainfly, floor, mesh, stuff sack or another panel. Different components can use different materials. A patch recommended for one of them is not automatically suitable for the rest.
Photograph the whole panel and the damaged area before shopping. Note which side would receive the patch. Keep the model label or purchase record with those photographs so you can give the manufacturer a useful description without relying on memory.
A simple note such as “inside of floor, small puncture away from a seam” is more informative than “hole in tent.” It also helps prevent ordering a mesh patch for solid fabric or a general fabric product for a specialist laminate.
Separate fabric from coating
The base fabric name and its surface treatment are different pieces of information. As a concrete example, Durston's woven-tent repair guide describes fabrics with different coatings on opposite sides. It specifies different adhesive compatibility for those sides and explicitly excludes its DCF Pro-series fabric from that guide. That example is a reason to check your own tent—not a rule that every tent shares Durston's construction.
Look for a material specification or care document that names the component and coating. If the listing says only “waterproof,” it has not answered the adhesive question. Do not identify a coating by burning, dissolving, scraping or applying an unknown solvent to the fabric. Appearance alone is not a dependable basis for choosing a repair system.
Read the complete patch name
Products in the same repair-tape family may have different adhesives and intended uses. For instance, GEAR AID's Silnylon Repair Tape identifies a silicone-based adhesive and lists silicone-treated fabrics, silnylon and silpoly as compatible surfaces. That is a more specific claim than a general description of a tape for outdoor gear.
Match the exact product and variant to the manufacturer's recommendation. Save the instructions, rather than just the product photograph. A similar-looking package or matching color does not establish that two adhesives are interchangeable.
Before ordering, make a short comparison with four entries: your tent component, its documented surface, the recommended repair product, and the source of that recommendation. If any entry is missing, resolve it first. This small check is especially worthwhile when buying a kit for several tents.
Check whether the damage belongs in a field-repair kit
A puncture in an otherwise sound panel is a different problem from a torn attachment, damaged zipper or long rip. Do not let the size of the patch in your bag decide the repair method. Ask the tent maker whether the affected area needs professional work or replacement.
Durston's guide, for example, directs major damage and certain sewn-component problems toward sewing or a repair service. Its advice illustrates an important limit: adhesive products are not a blanket replacement for the construction that holds a shelter together.
If the issue is actually a zipper snag or grit rather than torn fabric, start with our tent-zipper troubleshooting guide. Buying a fabric patch will not resolve every problem described as “tent damage.”
Pack instructions with the patch
Keep the backing and identifying packaging intact until use. Add a small card naming the tent component for which you selected the patch. Store different repair products separately enough that you will not confuse them in poor light.
Read the directions at home for preparation, application conditions and waiting times. Do not assume that one product's timing applies to another. If the required preparation cannot be carried out where you are camping, consider that limitation in your trip plan instead of counting on an instant repair.
After any repair, inspect it according to the maker's guidance before depending on the shelter again. Record what was used and where; that history helps with later advice and prevents adding an incompatible product over an unknown earlier repair.
The practical takeaway: build a repair kit around identified materials, not around the word “tent” on a packet. Knowing the component, surface and exact recommended product makes a small kit more purposeful than a drawer full of unlabelled adhesive options.
Cover: original conceptual illustration, not a demonstration of a repair or a claim of compatibility.


 Tents & Shelter
 Sleep Systems
 Packs & Hiking
 Camp Kitchen
 Light & Power
 Survival & Skills
 Camping 101
 Fishing