

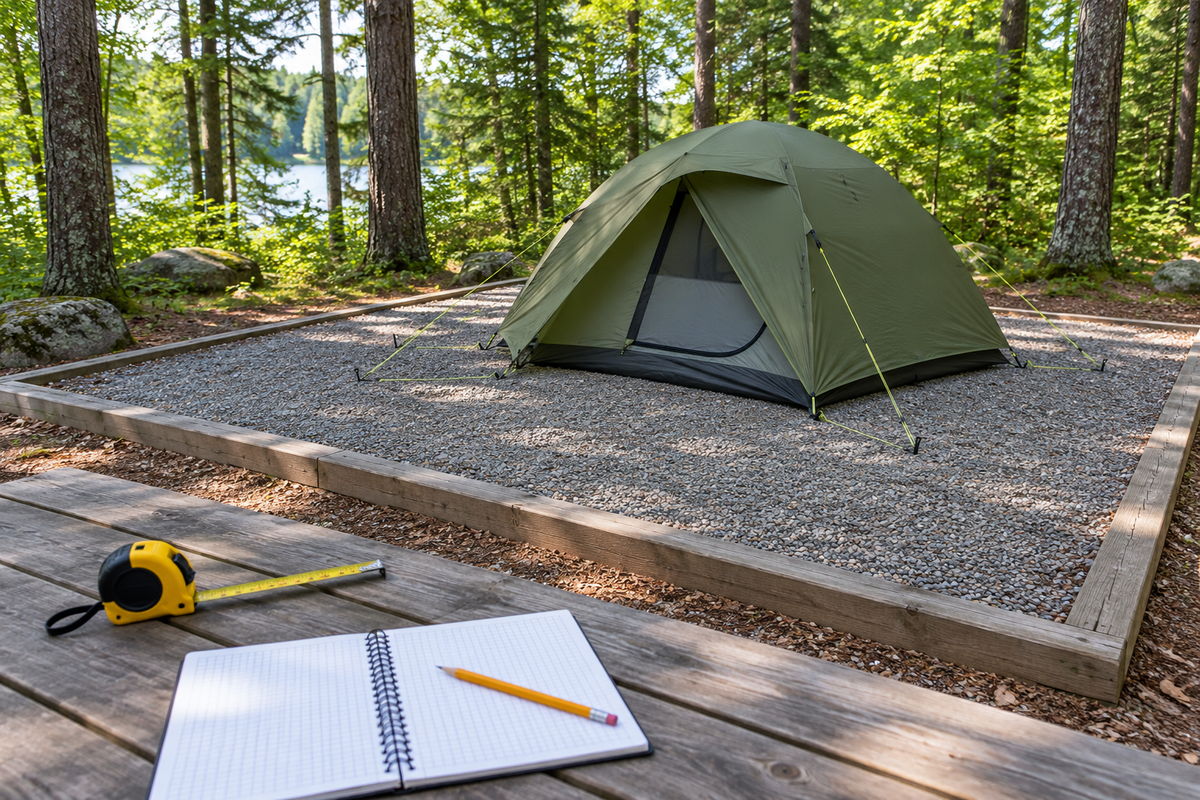
A tent can sleep your group comfortably and still be awkward to fit into the campsite you reserved. The floor dimensions on the product page describe only part of the space you need. Rainfly coverage, vestibules, stakes, guylines and a usable entrance all deserve a place in the plan.
Before buying a larger shelter or confirming a reservation, compare the actual campsite with the fully pitched tent. A few measurements at home are more useful than discovering the mismatch after dark with the poles already assembled.
Find the dimensions for the specific site
Start with the reservation listing for the exact site number. Look for tent-pad dimensions, photographs, surface type, parking information and any restrictions on where tents can stand. Save the relevant details with your booking so you are not relying on a weak connection at arrival.
The National Park Service's frontcountry camping introduction describes a tent pad as a designated tent area, often edged with wood and filled with gravel. That description is useful background, but it does not promise that every campground has the same arrangement.
Site numbers matter. Rocky Mountain National Park publishes a Moraine Park tent-pad list with different dimensions across the campground. Do not borrow a measurement from a neighboring campsite or assume a photograph of the campground entrance represents your reserved space.
Separate three different measurements
Make three entries in your planning note. First is the sleeping floor, which helps with mattresses and occupants. Second is the covered outline with the fly and vestibules deployed. Third is the space required for the complete pitch, including the anchoring arrangement specified by the manufacturer.
A floor that fits inside a drawn rectangle does not establish that the whole tent fits. A vestibule may project beyond the sleeping area, and a required guyline may extend farther still. Read the dimension diagram carefully to see which parts it includes.
Do not add a universal allowance such as “one extra foot on every side.” Different designs need different layouts. If the manufacturer supplies only floor measurements, ask for the full pitching-space information or measure your own correctly assembled shelter.
Do a complete practice pitch
Choose a suitable place where you are allowed to pitch and stake the tent. Follow its instructions, install the fly, arrange the vestibules and use the required anchoring points. This is a fit rehearsal, so leaving off awkward parts defeats the purpose.
Measure the outermost points of the finished arrangement. Record the units and note which end has the entrance. Photograph the layout from more than one side. A simple sketch can show irregular shapes more clearly than one length-and-width pair.
Open the doors and check the normal entry sequence. Where do you stand while opening a zipper? Where will boots go without blocking the doorway? Keep that usable approach separate from space occupied by fabric and lines. You do not need a scaled architectural drawing, just enough detail to avoid confusing empty-looking space with usable space.
Ask about boundaries and anchoring
Read the campground's current rules before assuming you may run stakes beyond the pad, tie to trees or shift a picnic table. For example, Zion's developed-campground regulations require tents, stakes and guylines to remain within campsite boundaries and prohibit attaching items to trees, vegetation or park structures. Those are destination-specific rules, not a substitute for checking your own campground.
If the listing leaves something unclear, ask the campground a focused question: “Does the listed pad measurement describe usable interior space, and where may the tent's required stakes and guylines be placed?” Include your shelter's complete pitch dimensions.
A platform, hard surface or shallow ground may also need an approved anchoring solution. Confirm both the land manager's rules and the tent maker's instructions. Do not plan to solve an unsuitable surface by omitting required anchors or modifying campground structures.
Sketch the rest of the campsite
Add the fixed features to your sketch: table, food locker, fire ring, parking space and route to the facilities. Mark them as fixed unless the campground says otherwise. Leave room to use each feature without walking through guylines.
If you are bringing a second tent or shade shelter, draw that complete setup too. A site that permits several tents is not necessarily large enough for every combination of tent sizes. Check occupancy and equipment limits separately from physical fit.
Use our food-locker packing guide for the separate cooler-and-storage question. Do not treat spare space in a sleeping tent as a solution to a food-storage requirement.
Make the decision before departure
If the layout is close, ask for clarification while you still have alternatives. A smaller suitable tent, another permitted site or a simpler equipment plan may be easier than forcing the original setup.
On arrival, compare the actual site with your notes before unpacking everything. If the usable area differs, speak with the host or land manager. Do not expand onto vegetation, a neighboring site or a walkway to rescue the drawing.
The useful outcome is a complete setup that fits the permitted space and remains practical to live in. Match the site and shelter together, rather than shopping for one and hoping the other will accommodate it.
Cover: an original editorial illustration, not a photograph of a specific campsite.


 Tents & Shelter
 Sleep Systems
 Packs & Hiking
 Camp Kitchen
 Light & Power
 Survival & Skills
 Camping 101
 Fishing