

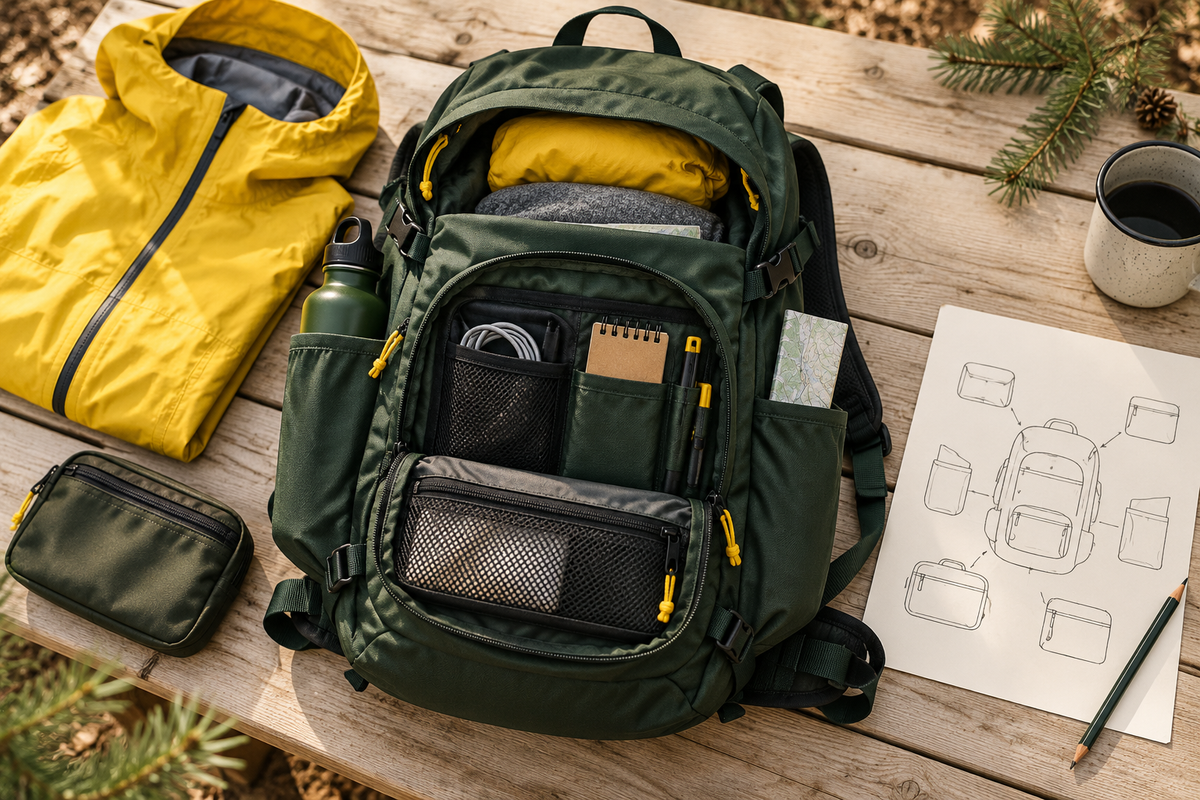
Opening every zipper to find a snack is inconvenient. Emptying the main compartment to reach a rain layer is worse. A backpack can have enough space for your gear and still be awkward to use because nothing has a predictable home.
Before your next hike, make a pocket map: a short record of what goes where in the pack you actually own. It need not be pretty, and it does not require a new set of organizers. A piece of paper, your usual gear and a practice pack-up at home are enough.
Map the real pack, not the product photograph
Empty every compartment and open the zippers. List the spaces you can actually use: main compartment, front pocket, lid, side pockets, internal sleeve and any smaller zipped sections. Some daypacks have only a few of these. A sleeve that looks useful in a photograph may be narrower once the main compartment is full.
Give each space a plain name. “Small inside zipper” is more helpful than “miscellaneous.” If two pockets look alike, distinguish them by location. Note which ones can be opened without disturbing the rest of the load, and which require you to put the pack down first.
Do not add external clips simply to create more storage. Start with the pack’s intended compartments and attachment points, following its instructions. The map should make your existing setup easier to understand.
Sort by when you will need something
Lay your trip gear out and create three groups: items used repeatedly, items needed at a planned stop and backup items that still need a clear location. This is an organization exercise, not a complete hiking equipment list. Choose the actual equipment for the route, conditions and people going.
Repeated-use items might include snacks or a map. A lunch container may only come out at a stop. A spare layer can be used unexpectedly, so do not bury it just because you hope the weather stays pleasant. Keep important equipment findable even when it is seldom used.
As you assign a home, write the item beside the pocket name. If a pocket gets a long list of unrelated objects, simplify it. One small pouch for loose repair items may be easier to retrieve than six individual pieces, but buying a pouch for every object usually creates another sorting problem.
Balance access with how the load carries
Convenient access is only one consideration. Osprey’s packing guidance recommends keeping heavier items near the middle of the back, maintaining side-to-side balance, limiting loose external gear and making quick-needed items accessible. Use those principles alongside the instructions for your own pack.
For example, an easy-to-open top pocket is not necessarily the right place for every dense object. If you move something for easier access, try the pack again rather than assuming the new arrangement will feel the same.
Keep sharp or rigid objects from pressing directly against fabric or your back. Follow any stated load limits. If the required equipment does not fit without forcing closures or hanging a jumble outside, reconsider the pack and load instead of treating the pocket map as a way to squeeze everything in.
Run three ordinary retrieval tests
Load the pack as you intend to carry it. Then set it down somewhere clean and work through three simple situations:
- A short break: retrieve a snack and your drinking water without unpacking unrelated gear.
- A weather change: take out the layer you expect to need quickly. Notice whether a full pocket or tightened strap blocks the opening.
- A planned stop: remove your meal or another larger item, then repack it without losing track of smaller belongings.
This is not a speed contest. Pay attention to friction: the zipper that needs two hands, the pouch that disappears behind a jacket or the bottle that only fits when the bag is empty. Change one placement and repeat the affected test.
Practice while stationary. There is no benefit in learning to rummage through a pack while walking over uneven ground. If you will wear gloves, try the relevant closures with those gloves at home.
Give wet items and rubbish a place too
Your packing arrangement must work on the return journey, when a layer may be damp and food wrappers are no longer neatly packed. Reserve a suitable separate container for rubbish and a sensible way to isolate damp belongings from items you want to keep dry.
Do not treat a pocket, rain cover or fabric description as a guarantee of waterproof storage. Protect moisture-sensitive belongings according to the container manufacturer’s instructions, and check closures before leaving. The point is to plan for a changed load rather than discover that everything only fits in its clean, dry starting state.
Keep the map short enough to use
Finish with five or six lines, then take a photo for your own reference. If hiking with a companion, explain where shared equipment is carried. After the trip, change only the placements that caused trouble.
If you are comparing a compact option such as our 18L foldable hiking backpack, check its actual compartment layout, dimensions and carrying suitability against your planned load. Capacity alone will not tell you whether your bottle, layers and other essentials are easy to reach.
A useful pocket map is personal and repeatable. You know what belongs in each space, you can retrieve it without a full unpack, and the pack still closes and carries as intended. That is the result worth keeping.
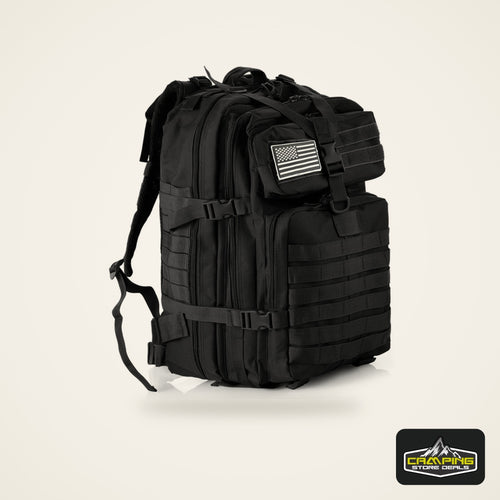


 Tents & Shelter
 Sleep Systems
 Packs & Hiking
 Camp Kitchen
 Light & Power
 Survival & Skills
 Camping 101
 Fishing